
s Beanie Hat Set Crochet Pattern")


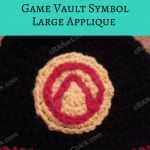

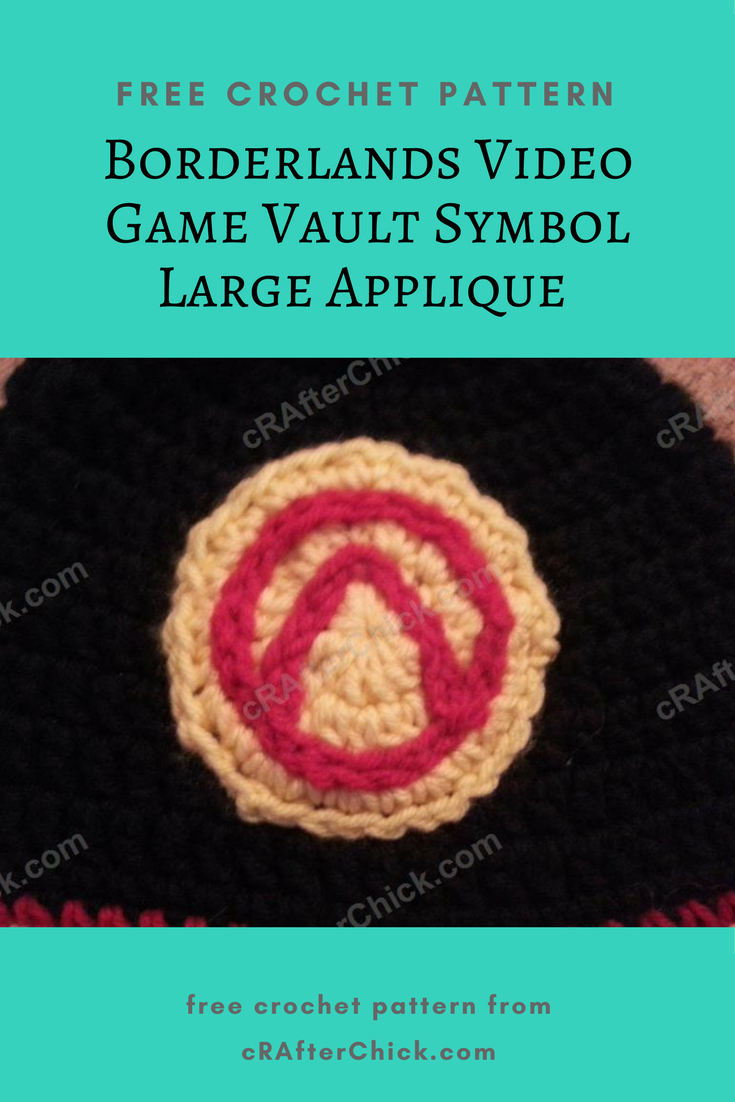
Borderlands Video Game Vault Symbol Large Applique Crochet Pattern
free video game inspired applique crochet pattern from cRAfterChick.com
If you haven’t guessed by now… I’m a geek. A proud video game addicted, fantasy / sci fi watching, loving math and socially awkward at times geek. So I recently got hooked back on playing Borderlands 2 video game thanks to some added on content to the story in update. So I just decided I just had to make myself a vault symbol applique… because I’m a geek like that. lol
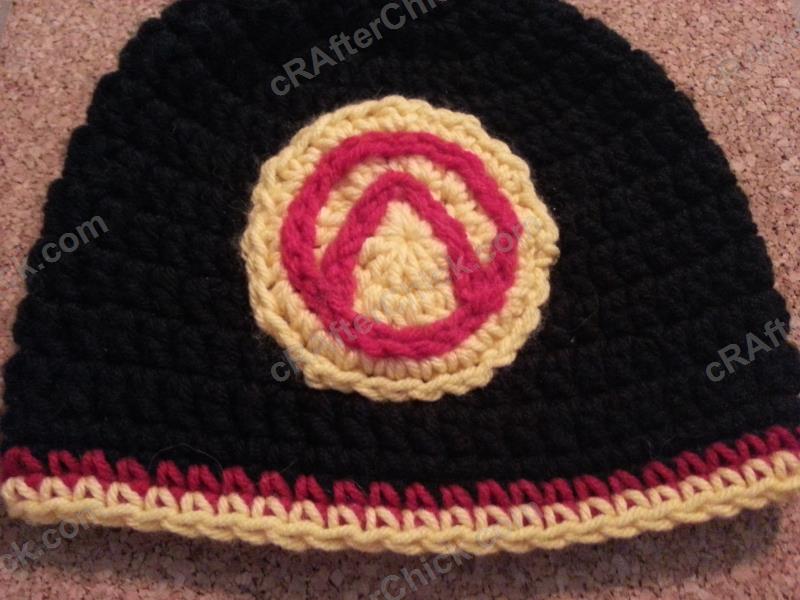
So here is the pattern instructions to make this crocheted version of the Borderlands vault symbol I whipped up. It’s a small and beginner friendly pattern that can be done in a quick amount of time. So give it a try whether you are a gaming geek or for the gaming geek in your life.  (Here is the pattern for hat project if you want to do this as well)
Never heard of Borderlands? Boy you are missing out!
Buy Borderlands 2 video game here.
Buy Borderlands video game here.
Learn more about Borderlands on the wiki here.
Here are some pictures from the game to show the symbol looks in it.
![]()
![]()
Borderlands Video Game Vault Symbol Large Applique Crochet Pattern Notes
Project requires:
(I use a lot of Red Heart Saver yarn but any medium to normal weight yarn will do)
Gold /yellow or desired color yarn for applique background for logo
Red or desired contrast color yarn for applique logo lines
“J” hook (6.0 mm)
Scissors or Yarn Cutter
Blunt large eye yarn / tapestry needle to weave in ends
Abbreviations used in this pattern (US crochet stitches):
ch – chain
st – stitch
sl st – slip stitch
sc – single crochet (US)
dc – double crochet (US)
Pattern Instructions:
*Note: This project is worked in the round on the base of a magic ring. If you do not know how to do this, please see tutorial here from: yarntomato on CrochetMe
Applique background: using main color yarn
Round 1: Using main color yarn in a magic circle, ch 2 before placing 10 dc in to the circle. Pull circle tightly closed and sl st in the top of the 1st st in round. (10 dc)
Round 2: Ch 2 before placing 2 dc in 1st st and 2 dc in each of the remaining 9 st around. Sl st in the top of the 1st st in round. (20 dc)
Round 3: Ch 1 before placing *2 sc in 1st st and 1 sc in following st* repeating * pattern for remaining 18 st around. Sl st in the top of the 1st st in round. (30 sc)
Before cutting yarn, leave a length long enough to sew this applique in place on your desired project when completed. Once you cut the yarn, pull yarn tail through last loop on hook and place to the side until needed.
Symbol circle part: using contrast color yarn
Make a chain of 26. Sl st in to the last ch from hook to create a circle.
Before cutting yarn, leave a yarn tail long enough to sew this portion of the vault symbol securely in place on the applique during assembly. Once you cut yarn, pull yarn tail through last loop on hook and place to the side until needed.
Symbol ^ part: using contrast color yarn
Make a chain of 12.
Before cutting yarn, leave a yarn tail long enough to sew this portion of the vault symbol securely in place on the applique during assembly. Once you cut yarn, pull yarn tail through last loop on hook and place to the side until needed.
Finishing off and assembly:
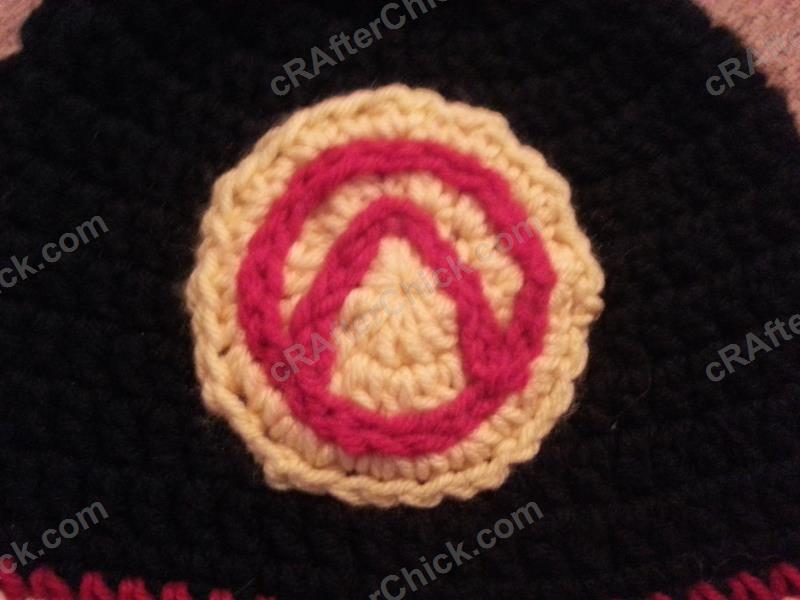
Taking the yarn tail left on the circle part of the symbol chain, use a yarn needle to sew the circle in place on your applique background. I sewed mine right on the border of where round 2 and 3 meet on the background. It makes a great guide and you don’t have to worry about it being lopsided. Once it is secured in place, pull the yarn to the backside of the applique and fasten off.
Next use your yarn needle and the tail left of the symbol chain for the ^ in place on the applique background. It will be a basic upside down v shape, like this ^. You can see my pictures on how I placed mine. You want each end of the chain to touchdown on bottom of the circle. I pinned mine in place during process but it isn’t necessary. You should be able to eyeball how you want it placed. I just get antsy about things not being perfectly even. 😉 Once it is secured in place, pull the yarn to the backside of the applique and fasten off.
Now you have a completed vault symbol applique! There should only be on yarn tail left and that’s the extra long yarn tail in main color from the applique background. You will use this to fix the applique on to the project of your choice when ready.
Attaching Applique to Project:
Do you have a project ready for an applique? Then you are ready for this step. All you will need to do is again use the yarn needle and the yarn tail left on the applique to secure it in place on your desired project location. I normally just attached with a basic in and out stitch near perimeter of applique so ends don’t curl up and a few stitches near the center to keep it from bubbling up later on after multiple washings. Once you have sewn your applique in place, pull the yarn to the backside or inside (depending on your project) and fasten off. That’s it.
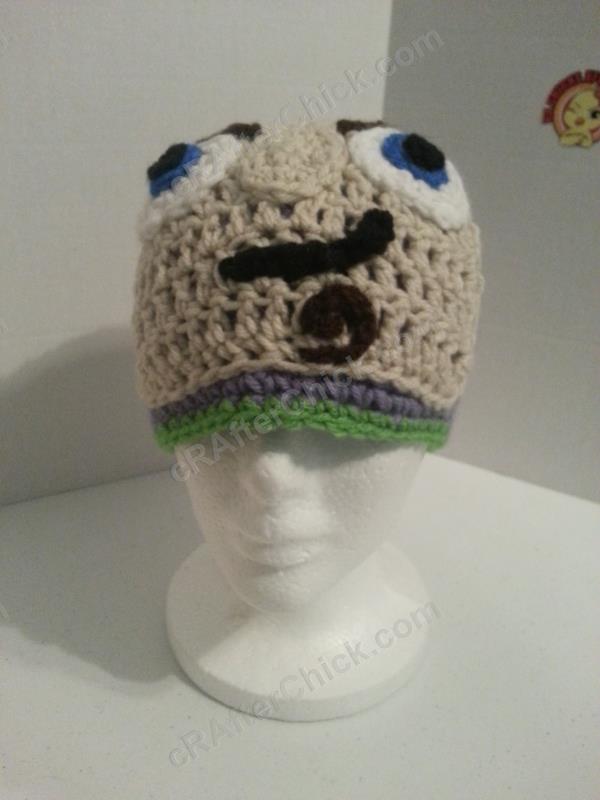
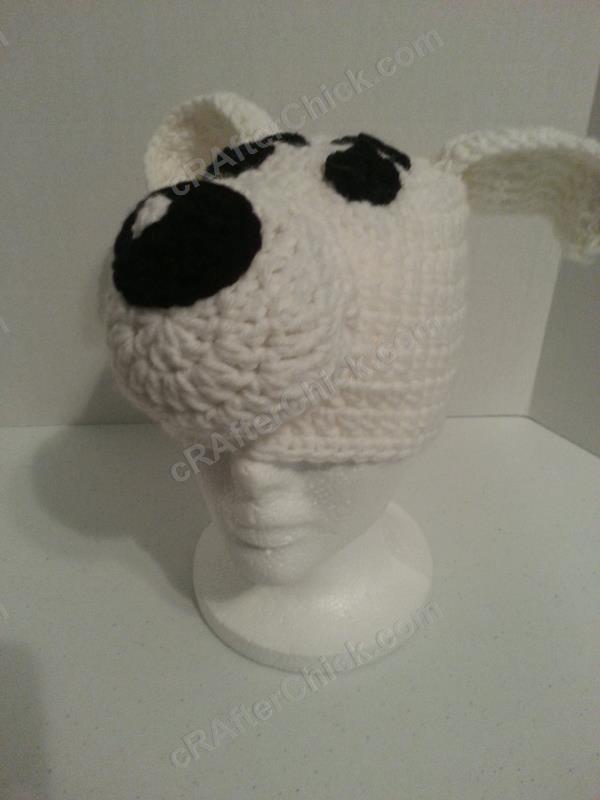
Here is what this applique look liked once I finished it and attached to my desired project (hat): (Here is the pattern for hat project if you want to do this as well)

Want more free patterns? Follow cRAfterChick on Facebook or Pinterest to get updates on patterns as they are added.

Note: All the cRAfterChick patterns shared on this site are free of charge. Please feel free to use them to make your own items. If you use it to make items to sell please credit cRAfterChick for the pattern and provide link to our site. Please do not copy and paste my pattern or try to use my images as your own. You can link to any of my patterns. Happy crafting!