
s Beanie Hat Set Crochet Pattern")


Arthritis Awareness Blue Curly Pigtail Beanie Hat Crochet Pattern
free crochet pattern by cRAfterChick.com
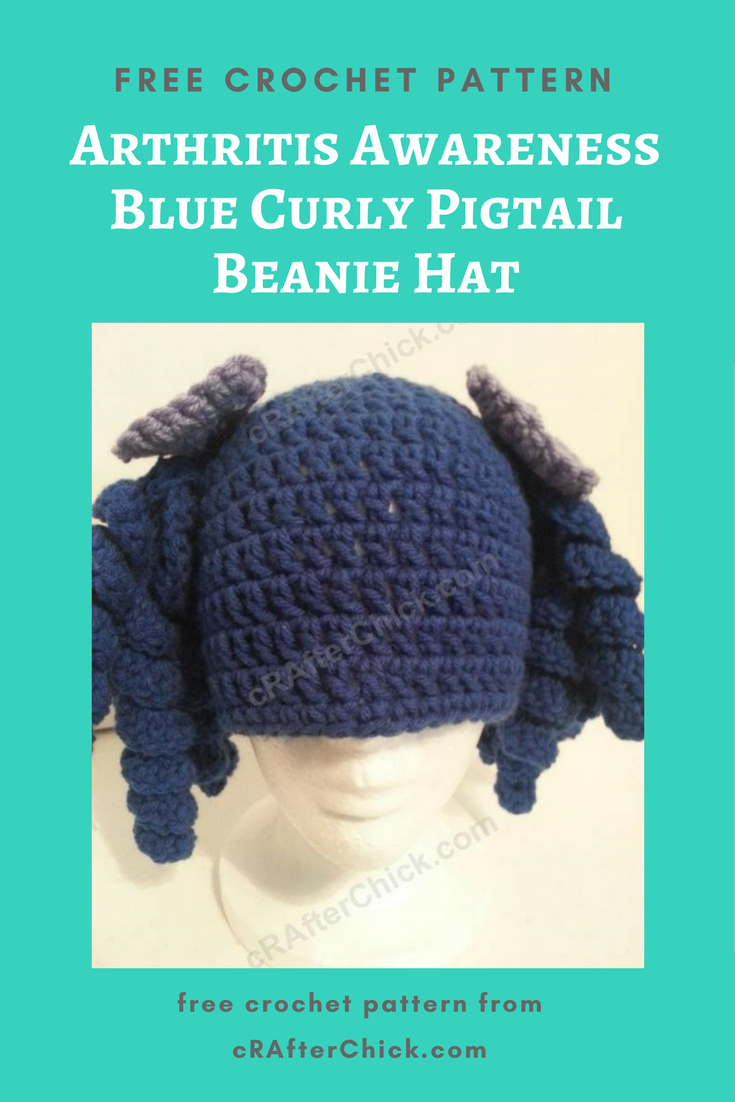
I decided to make myself some fun hats to wear with or without my newly acquired wigs since I have been losing my hair. I came up with this idea for a blue curly pigtail hat to wear for World Arthritis Day or just for fun. I will be making some in different hair colors for some small children as requested by their parents. I’ve had several adults ask me to make this for them as well. 
Since I really do hate the sewing together part of hats, I designed it so each pigtail is in one piece versus each curl being a separate piece to sew on. I think it’s a great project for beginners. It looks a lot more complicated than it actually is to make. Happy crafting!
Arthritis Awareness Blue Curly Pigtail Beanie Hat Crochet Pattern Notes

Project requires:
Arthritis Awareness Blue Yarn for Beanie Hat (main color or whatever color you desire)- (I use a lot of Red Heart Saver yarn but any medium to normal weight yarn will do)
Lighter Purple Contrast Yarn for bow
“J” hook (6.0 mm)
Scissors or Yarn Cutter
Blunt large eye yarn / tapestry needle to weave in ends
Abbreviations used in this pattern (US crochet stitches):
ch – chain
st – stitch
sl st – slip stitch
sc – single crochet (US)
dc – double crochet (US)
hdc – half double crochet (US)

Pattern Instructions:
*Note: This project is worked in the round on the base of a magic ring. If you do not know how to do this, please see tutorial here from: yarntomato on CrochetMe
The hat in this picture is made with my free Easy Peasy Pre-Teen / Teen / Women Double Crochet Beanie Pattern, which you can find here as a foundation for the project. Want it in another size? No worries. Head over to Easy Peasy All Family Sizes Free Double Crochet Beanie Patterns to select the size of the free pattern you want for your project.
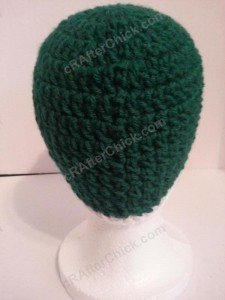
Hat Base: in main color purple yarn
Use Easy Peasy Crochet Beanie Size of your choice
Once you have completed your beanie for the base you are ready to start on making your own curly pigtail hat!
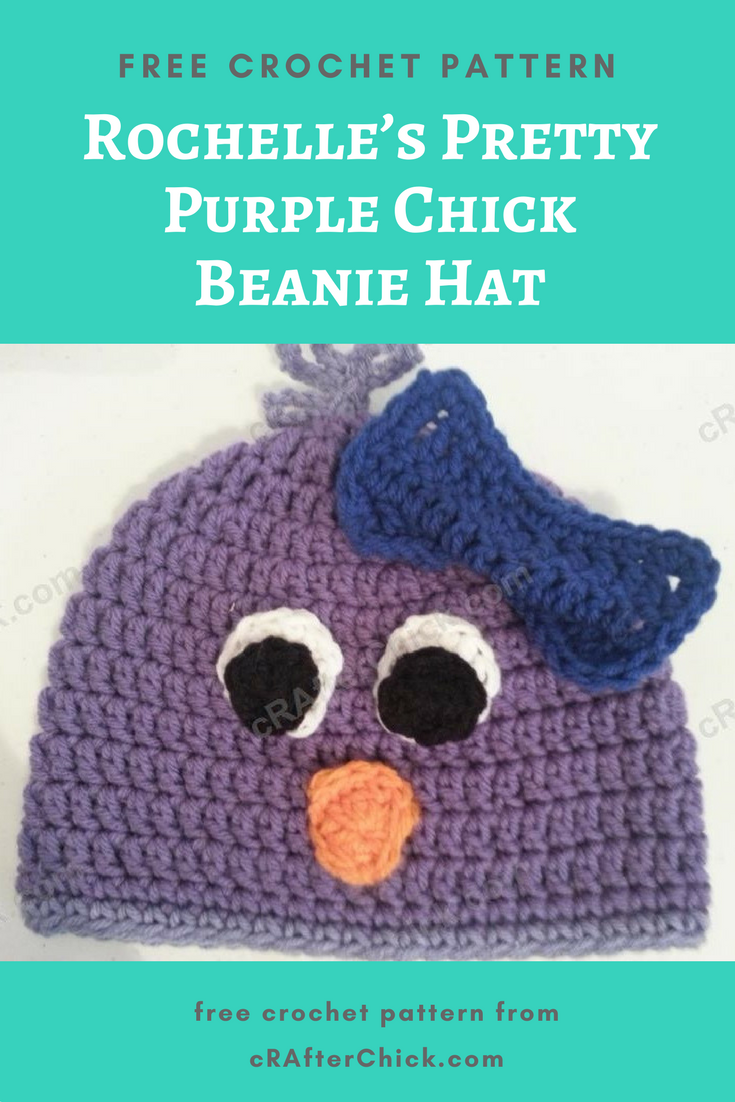
Bow (Make 2): using purple contrast yarn
Row 1: Ch 14, work 1 dc in the 3rd ch from hook (first 2 ch does not count as st throughout pattern) and place 1 dc in each of the following 11 ch. Ch 2 and turn. (12 dc)
Row 2: Make 1 dc in 1st st and place 1 dc in each of the following 11 st across. Ch 2 and turn. (12 dc)
Row 3: Make 1 dc in 1st st and 1 dc in each of the following st across. Ch 1 and turn. (12 dc)
Row 4: Work a round of 1 sc in each st, 3 sc in each corner to give a more rounded appearance, completely around the perimeter of your bow piece. Sl st in to the top of the 1st st once you have worked it all the way around.
Make sure you leave a long enough tail to secure your bow in place on the beanie hat during finishing off steps.
This size bow will work great on toddler through adult sized hats. For newborn to 12 month sized hats, do the following:
Row 1: Ch 10, work 1 hdc in the 3rd ch from hook (first 2 ch does not count as st throughout pattern) and place 1 hdc in each of the following 7 ch. Ch 2 and turn. (8 hdc)
Row 2: Make 1 hdc in 1st st and place 1 hdc in each of the following 7 st across. Ch 2 and turn. (8 hdc)
Row 3: Make 1 hdc in 1st st and 1 hdc in each of the following st across. Ch 1 and turn. (8 hdc)
Row 4: Work a round of 1 sc in each st, 3 sc in each corner to give a more rounded appearance, completely around the perimeter of your bow piece. Sl st in to the top of the 1st st once you have worked it all the way around.
Curly Pigtails (Make 2): using main color blue yarn
First Curl
Starting off to make a ch of 37. In 3rd ch from hook, place 3 dc and place 3 dc in each of the following 23 ch. In next ch place 2 hdc. Sl st back in to the next ch in the foundation chain.
Second Curl
Sl st in next ch now, leaving the rest of the ch unworked for now ch 27. Place 3 dc in the 3rd ch from hook, then make 3 dc in each of the following 23 ch and make 2 hdc in last ch before making a sl st back in to foundation chain in the next ch from start of curl.
Third Curl
Sl st in next ch now, leaving rest of the foundation ch unworked for now, ch 22. Starting in 3rd ch from hook, place 3 dc in 3rd chain and in each of the following 18 ch. In last ch before foundation chain, make 2 hdc before sl st back in to foundation chain in ch after the starting one from start of curl.
Fourth Curl
Sl st in next ch now, leaving the rest of the foundation ch unworked for now, ch 22. Starting in 3rd ch from hook, place 3 dc in 3rd chain and in each of the following 18 ch. In last ch before foundation chain, make 2 hdc before sl st back in to foundation chain in ch after the starting one from start of curl.
Fifth Curl
For the fifth curl, sl st in next ch now, leaving rest of ch unworked for now, ch 17. Make 3 dc in 3rd ch from your hook, 3 dc in following 13 ch and 2 hdc in last ch before you sl st back in to foundation chain in ch next on chain.
Sixth Curl
For the sixth curl, sl st in next ch before leaving rest of ch unworked for now and ch 17. Make 3 dc in 3rd ch from your hook, 3 dc in following 13 ch and 2 hdc in last ch before you sl st back in to foundation chain in ch next on chain.
Leave a long enough tail on your pigtail in order to be able to securely sew it in to place on your beanie hat during assembly before you cut the yarn, pull it through and place it to side until needed.
Repeat process for your second pigtail.
This size pigtail will work great on youth through adult sized hats. For toddler sized hats, do the following:
First Curl
Starting off to make a ch of 23. In 3rd ch from hook, place 3 hdc and place 3 hdc in each of the following 15 ch. In next ch place 2 hdc. Sl st back in to the next ch in the foundation chain.
Second Curl
Sl st in next ch now, leaving the rest of the ch unworked for now ch 16. Place 3 hdc in the 3rd ch from hook, then make 3 hdc in each of the following 12 ch and make 2 hdc in last ch before making a sl st back in to foundation chain in the next ch from start of curl.
Third Curl
Sl st in next ch now, leaving rest of the foundation ch unworked for now, ch 16. Starting in 3rd ch from hook, place 3 hdc in 3rd chain and in each of the following 12 ch. In last ch before foundation chain, make 2 hdc before sl st back in to foundation chain in ch after the starting one from start of curl.
Fourth Curl
Sl st in next ch now, leaving the rest of the foundation ch unworked for now, ch 13. Starting in 3rd ch from hook, place 3 hdc in 3rd chain and in each of the following 9 ch. In last ch before foundation chain, make 2 hdc before sl st back in to foundation chain in ch after the starting one from start of curl.
Fifth Curl
For the fifth curl, sl st in next ch now, leaving rest of ch unworked for now, ch 13. Make 3 hdc in 3rd ch from your hook, 3 hdc in following 9 ch and 2 hdc in last ch before you sl st back in to foundation chain in ch next on chain.
Sixth Curl (Optional – if you are doing newborn to 3 month size, you may want to eliminate either the sixth or second curl to make the pigtails less overwhelming in relation to hat)
For the sixth curl, sl st in next ch before leaving the last ch unworked for now and ch 10. Make 3 hdc in 3rd ch from your hook, 3 hdc in following 6 ch and 2 hdc in last ch before you sl st back in to foundation chain in ch next on chain.
Leave a long enough tail on your pigtail in order to be able to securely sew it in to place on your beanie hat during assembly before you cut the yarn, pull it through and place it to side until needed.
Repeat process for your second pigtail.

Finishing off:
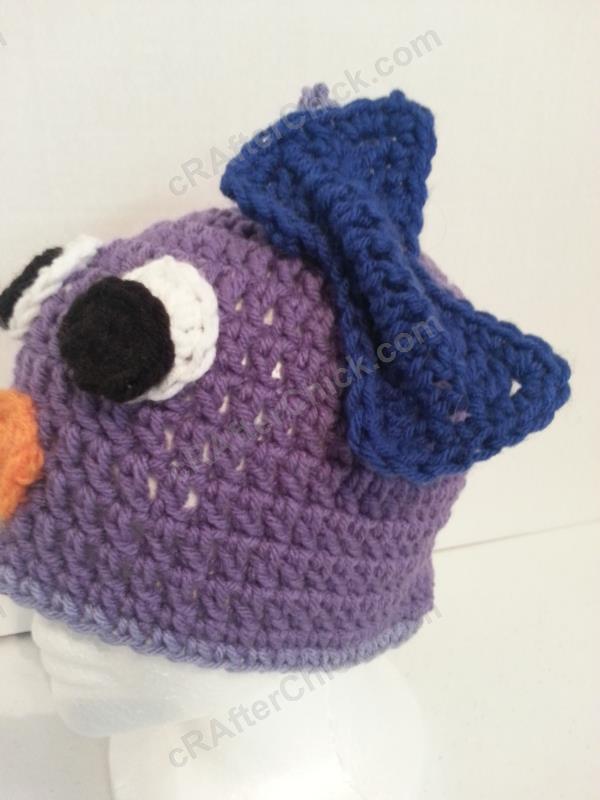
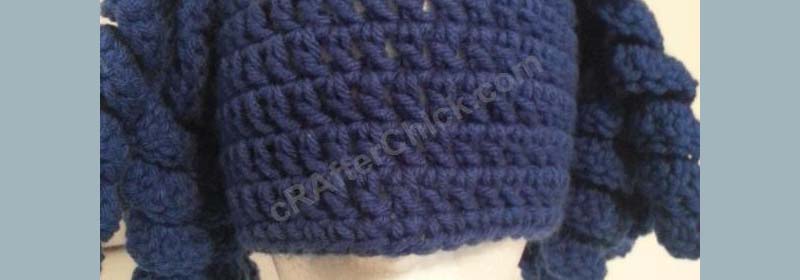
Take the tail left on one of your curly pigtails and your yarn needle to sew it on to the top side of your beanie hat. You can see where I placed my own. If you want your pigtails to hang longer than hat, place lower on hat, if you like it equal or shorter to length of hat, place further towards the top. Once secure, pull your yarn to the inside of the beanie and fasten off. Repeat process for the second pigtail.
Next take the tail left on one your purple (or desired color) hair bows and your yarn needle to sew it to the top of one attached curly pigtails on hat. Again you can reference my pictures on where I placed my own. I like to fold the center of my bows in half and place a few back / forth stitches to help them retain that shape before sewing it on to my location. I like how the bows look when narrowed in the center but that is totally optional and up to your own preferences. I like to do this step on top of the pigtails that are already attached to beanie as a double step to secure the pigtails to the hat with the bow.
Once you have it sewn in to place, pull your yarn to the inside of hat before fastening off. Now repeat process for second bow.
Now check over your crochet project for any tails or ends that you may have missed throughout assembly process to weave in and finish off. Do so if you find any.
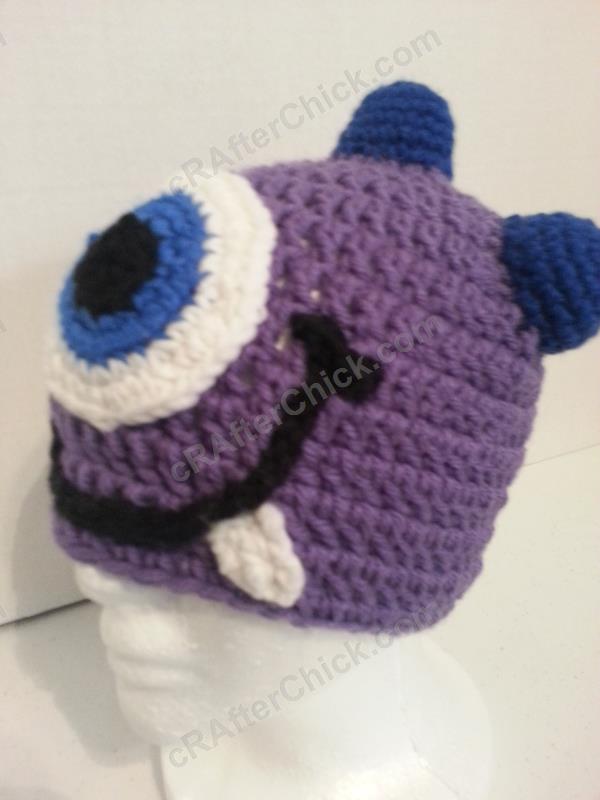
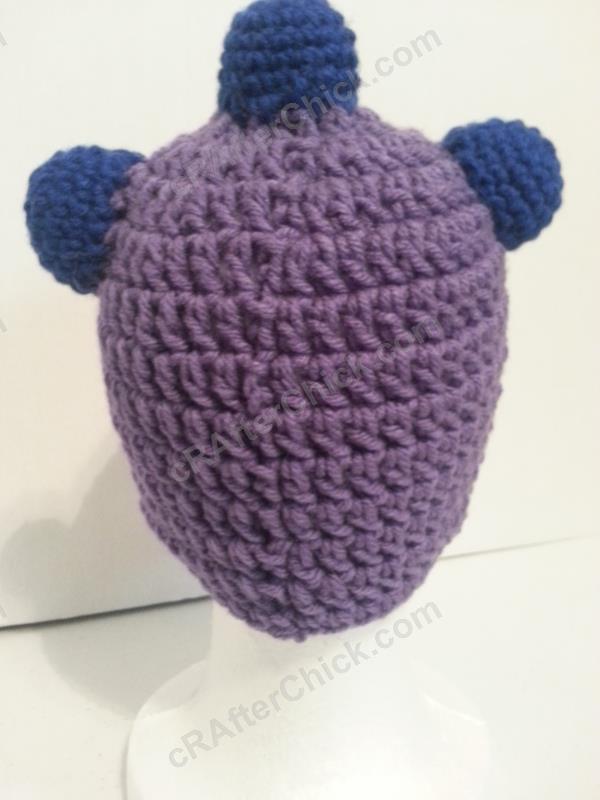
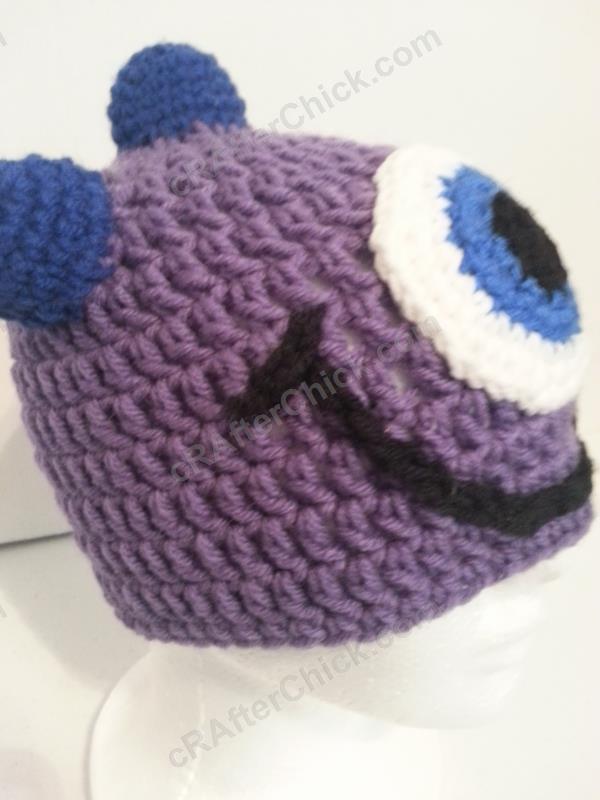
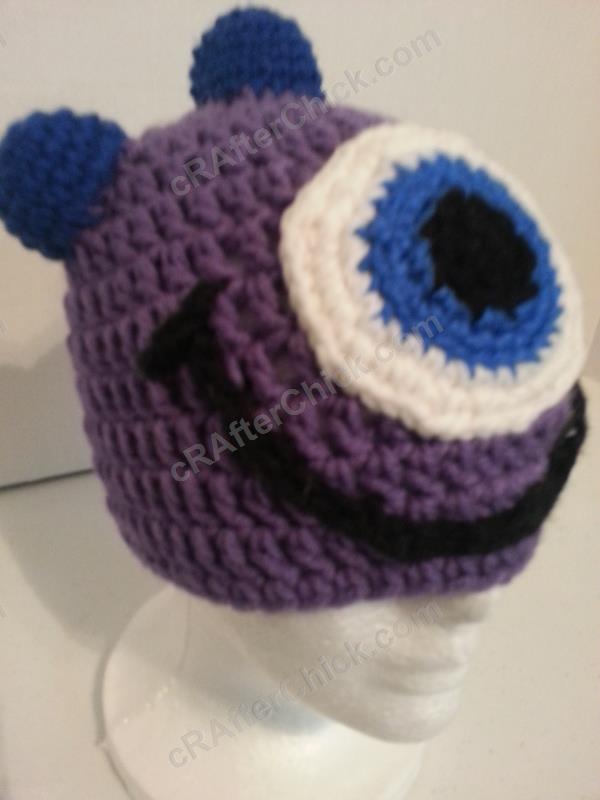
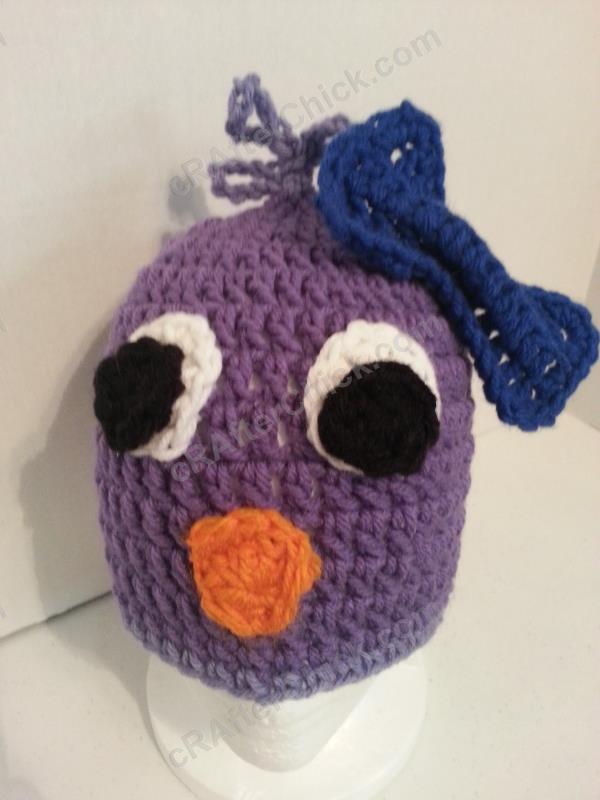
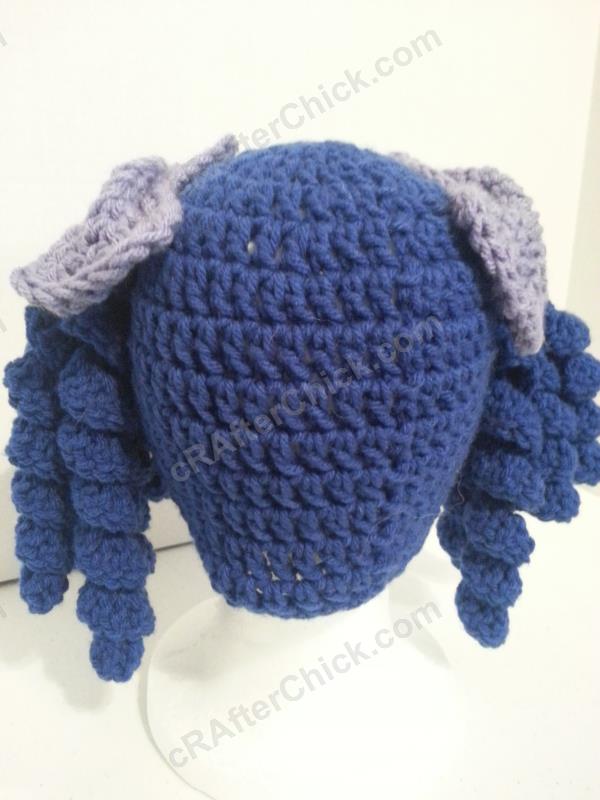
All done! Now you have one completed curly pigtail hat! I love mine. I even wore it to go to the emergency room on Paint the World Blue for Arthritis Day. Boy did it get a lot of attention and kept the smiles going around.

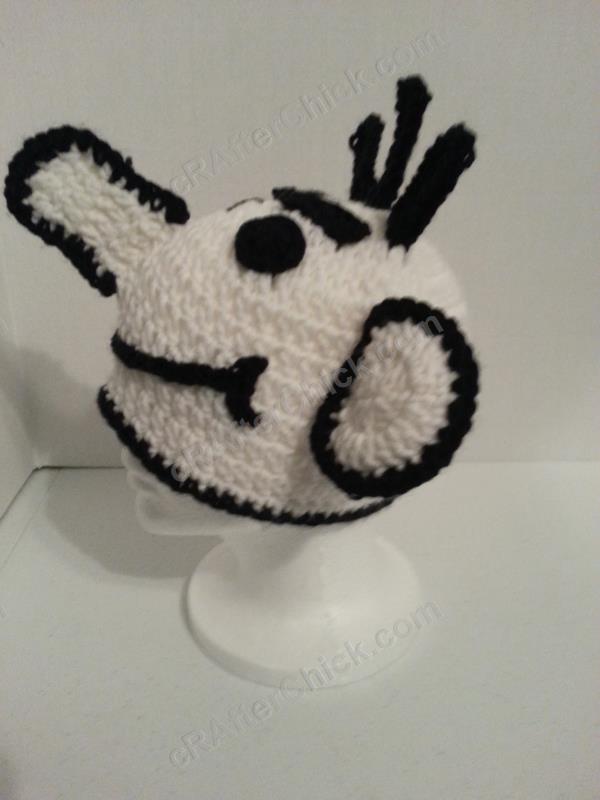
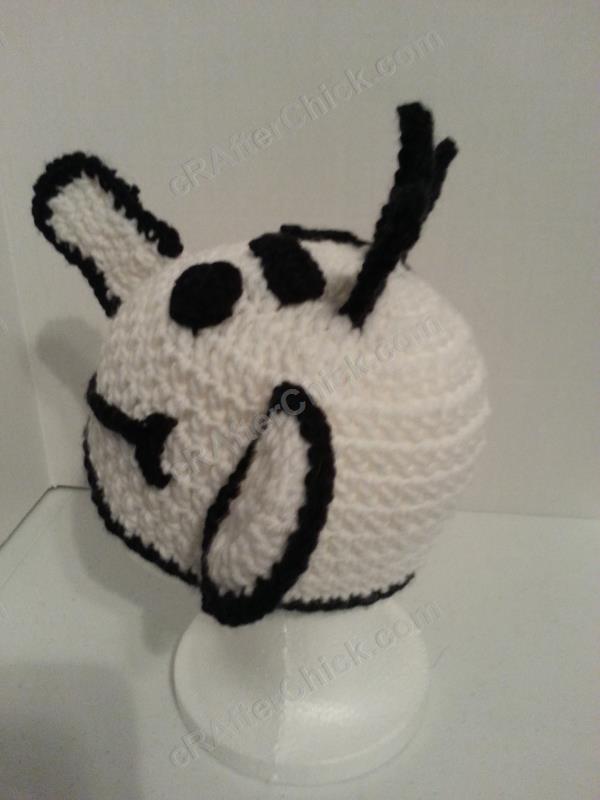
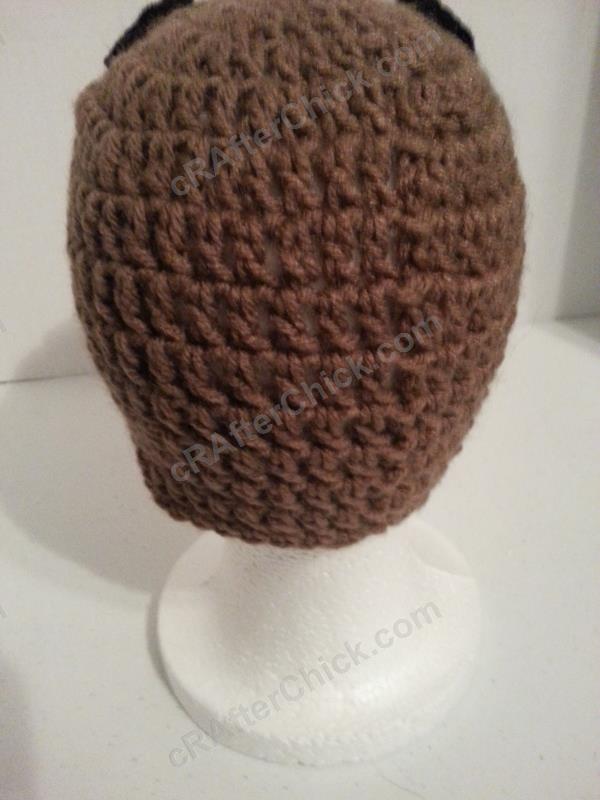
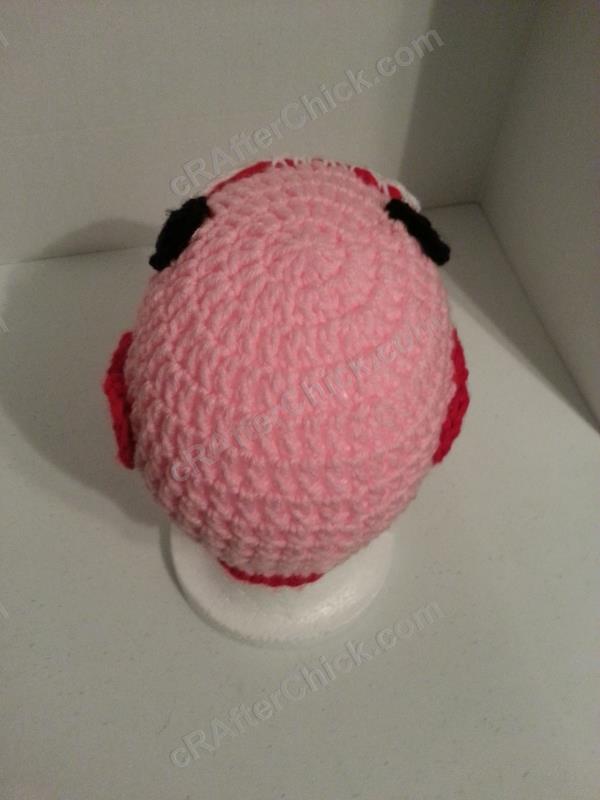
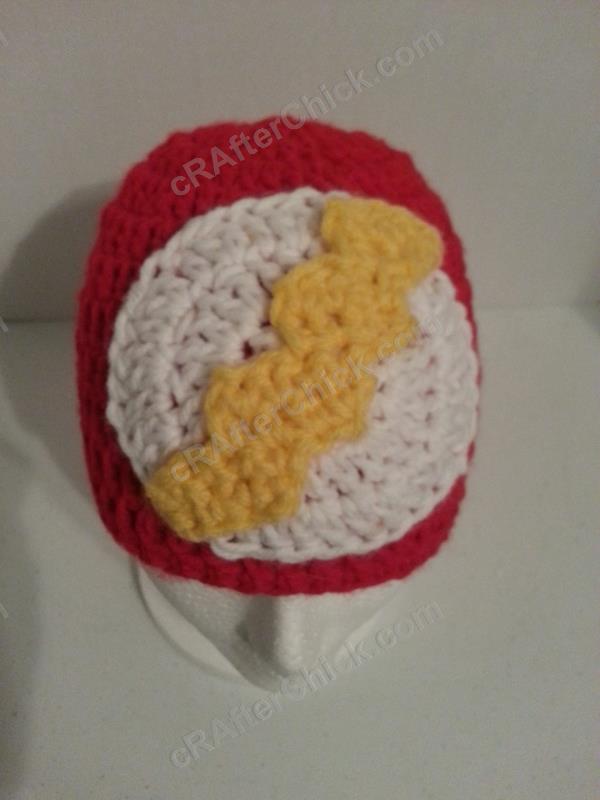
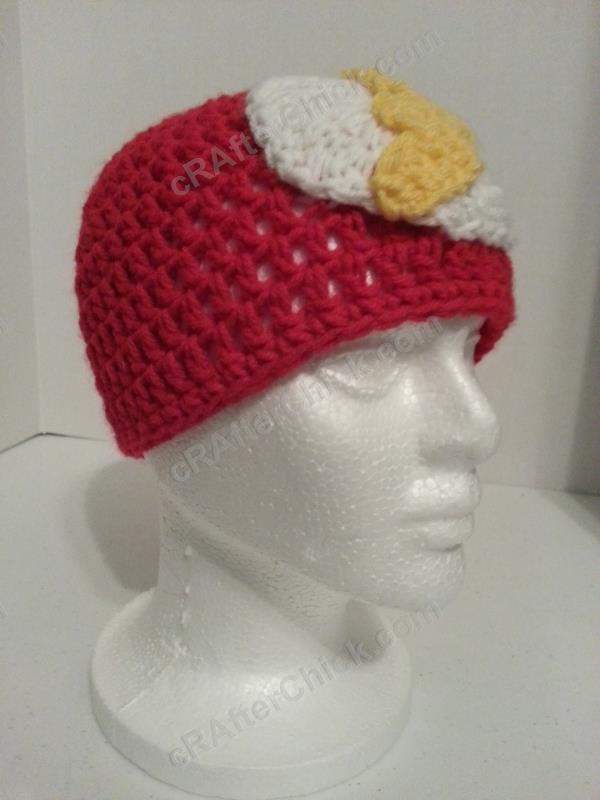
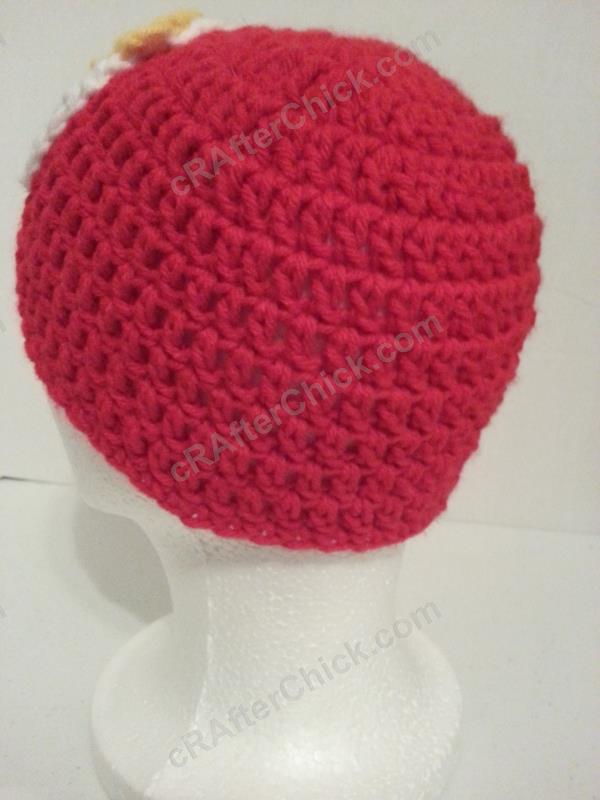
Here are some pictures to show how the completed curly pigtail hat looks like worn from different angles once you are all done:


Want more free patterns? Follow cRAfterChick on Facebook or Pinterest to get updates on patterns as they are added.

Note: All the cRAfterChick patterns shared on this site are free of charge. Please feel free to use them to make your own items. If you use it to make items to sell please credit cRAfterChick for the pattern and provide link to our site. Please do not copy and paste my pattern or try to use my images as your own. You can link to any of my patterns. Happy crafting!