
s Beanie Hat Set Crochet Pattern")


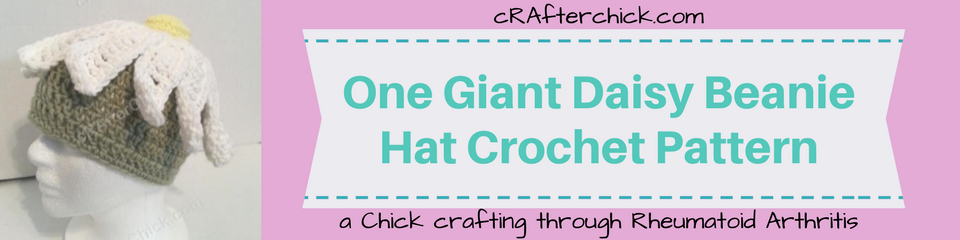
Rainbow Gay Pride Striped Beanie Hat Crochet Pattern for Teen/ Womens / Men sizes
free crochet pattern from cRAfterChick.com

This hat was a special request from a loved one and a favorite project of mine for what it stands for. The loved one wanted a set of gay pride hats to where with a fellow attendee to our local Gay Pride parade later this month. I am honored to be a part of their day and was so happy to make the hats for them that I pushed more than a few projects aside to design this up asap. They promised me lots of pictures from the day so I can’t wait to see them. 
This is a very beginner friendly double crochet hat pattern and works up really fast. I made them both in a day of working at them here and there. Happy crafting!

Rainbow Gay Pride Striped Beanie Hat Crochet Pattern for Teen/ Womens / Men sizes Notes
Project requires:
Medium to normal weight yarn (I use a lot of Red Heart Saver yarn for these though you can use baby yarn for extra soft beanie hats too!)
Red Yarn
Orange Yarn
Yellow Yarn
Green Yarn
Blue Yarn
Purple Yarn
“J” hook (6.0 mm)
Scissors or Yarn Cutter
Blunt large eye yarn / tapestry needle to weave in ends
Abbreviations used in this pattern (US crochet stitches):
ch – chain
st – stitch
sl st – slip stitch
sc – single crochet (US)
dc – double crochet (US)
Pattern instructions:
*Note: This project is worked in the round on the base of a magic ring. If you do not know how to do this, please see tutorial here from: yarntomato on CrochetMe
Preteen / Teen/ Womens Size Instructions:
Round 1: Starting with Red yarn in Magic Ring, ch 2 (does not count as a dc throughout pattern as I use this to make a more seamless appearance in my hats) then 10 dc in ring. Tighten ring. Join with sl st to top of beginning st. (10 dc)
Round 2: Ch 2. *2 dc in first and following 9 st. Join with sl st to top of beginning st. (20 dc) Fasten off red yarn.
Round 3: Attach Orange yarn with sl st in st you left off at in previous round. Ch 2. *2 dc in next st. Dc in next st. Repeat from * around. Join with sl st to top of beginning st. (30 dc)
Round 4: Ch 2. *2 dc in next st. Dc in next 2 st. Repeat from * around. Join with sl st to top of beginning st. (40 dc) Fasten off orange yarn.
Round 5: Attach Yellow yarn with a sl st in st you left off at in previous round. Ch 2. *2 dc in next st. Dc in next 3 st. Repeat from * around Join with sl st to top of beginning st. (50 dc)
Round 6: Ch 2, place 1 dc in first st and each remaining st around. Join with sl st to top of beginning st. (50 dc) Fasten off yellow yarn.
Round 7: Attach Green yarn with a sl st to the st where you left off in previous round. Ch 2, place 1 dc in first st and each remaining st around. Join with sl st to top of beginning st. (50 dc)
Round 8: Ch 2, place 1 dc in first st and each remaining st around. Join with sl st to top of beginning st. (50 dc) Fasten off green yarn.
Round 9: Attach Blue yarn with a sl st to the st where you left off at in previous round. Ch 2, place 1 dc in first stand each remaining st around. Join with sl st to top of beginning st. (50 dc)
Round 10: Ch 2, place 1 dc in first stand each remaining st around. Join with sl st to top of beginning st. (50 dc) Fasten off blue yarn.
Round 11: Attach Purple yarn with a sl st in the st you left off at in previous round. Ch 2, place 1 dc in first st and each remaining st around. Join with sl st to top of beginning st. (50 dc)
Round 12: Ch 2, place 1 dc in first st and each remaining st around. Join with sl st to top of beginning st. (50 dc) Fasten off purple yarn.
All done!
Men’s Size Pattern Instructions:
Round 1: Starting with Red yarn, in a Magic Ring, ch 2 (does not count as a dc throughout pattern as I use this to make a more seamless appearance in my hats) then 12 dc in ring. Tighten ring. Join with sl st to top of beginning st. (12 dc)
Round 2: Ch 2. *2 dc in first and following 11 st. Join with sl st to top of beginning st. (24 dc)
Round 3: Ch 2. *2 dc in next st. Dc in next st. Repeat from * around. Join with sl st to top of beginning st. (36 dc) Fasten off red yarn.
Round 4: Attach Orange yarn in a sl st in st you left off at previously. Ch 2. *2 dc in next st. Dc in next 2 st. Repeat from * around. Join with sl st to top of beginning st. (48 dc) Join to top ch of ch 3.
Round 5: Ch 2. *2 dc in next st. Dc in next 3 st. Repeat from * around Join with sl st to top of beginning st. (60 dc) Fasten off orange yarn.
Round 6: Attach Yellow yarn with a sl st in st you left off at in previous round. Ch 2, place 1 dc in first st and each remaining st around. Join with sl st to top of beginning st. (60 dc)
Round 7: Ch 2, place 1 dc in first stand each remaining st around. Join with sl st to top of beginning st. (60 dc) Fasten off yellow yarn.
Round 8: Attach Green yarn with a sl st to st you left off at in previous round.Ch 2, place 1 dc in first st and each remaining st around. Join with sl st to top of beginning st. (60 dc)
Round 9: Ch 2, place 1 dc in first st and each remaining st around. Join with sl st to top of beginning st. (60 dc) Fasten off green yarn.
Round 10: Attach Blue yarn with a sl st to st you left off at in previous round. Ch 2, place 1 dc in first st and each remaining st around. Join with sl st to top of beginning st. (60 dc)
Round 11: Ch 2, place 1 dc in first st and each remaining st around. Join with sl st to top of beginning st. (60 dc) Fasten off blue yarn.
Round 12: Attach Purple yarn with a sl st to st you left off at in previous round. Ch 2, place 1 dc in first st and each remaining st around. Join with sl st to top of beginning st. (60 dc)
Round 13: Ch 2, place 1 dc in first st and each remaining st around. Join with sl st to top of beginning st. (60 dc) Fasten off.
That’s it!
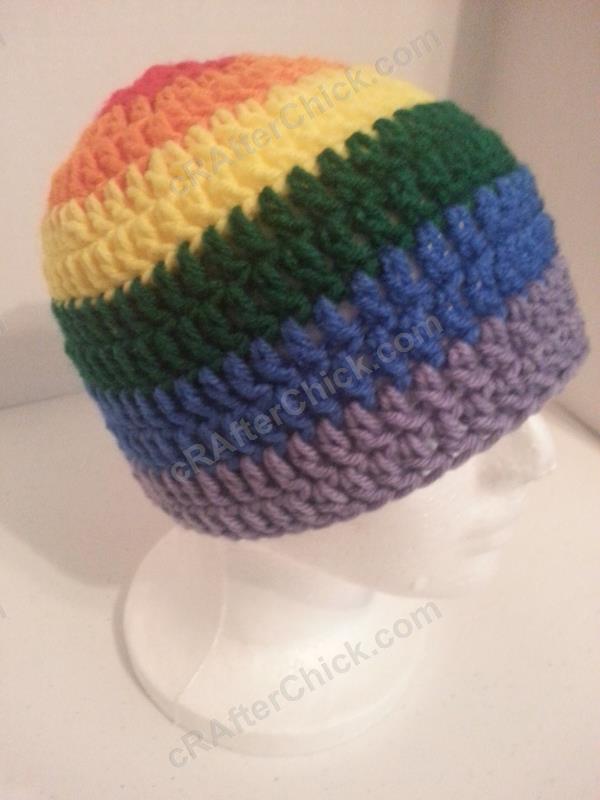
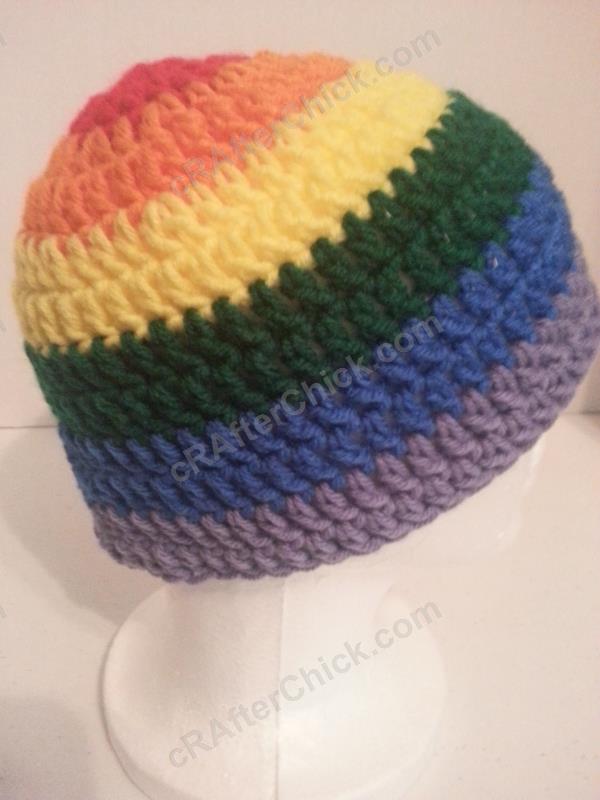
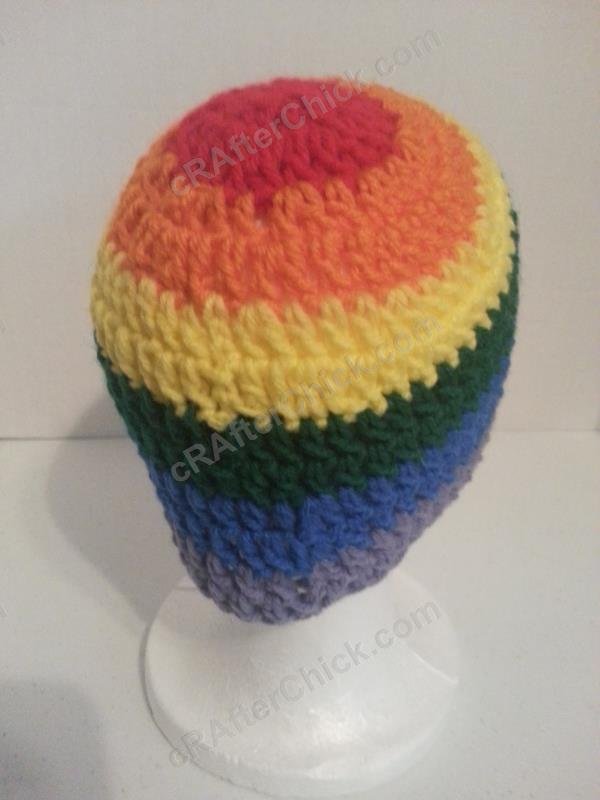
I hope you enjoy making this beautiful hat for gay pride. I can’t wait to see the pictures from my loved one rocking hers at the parade!
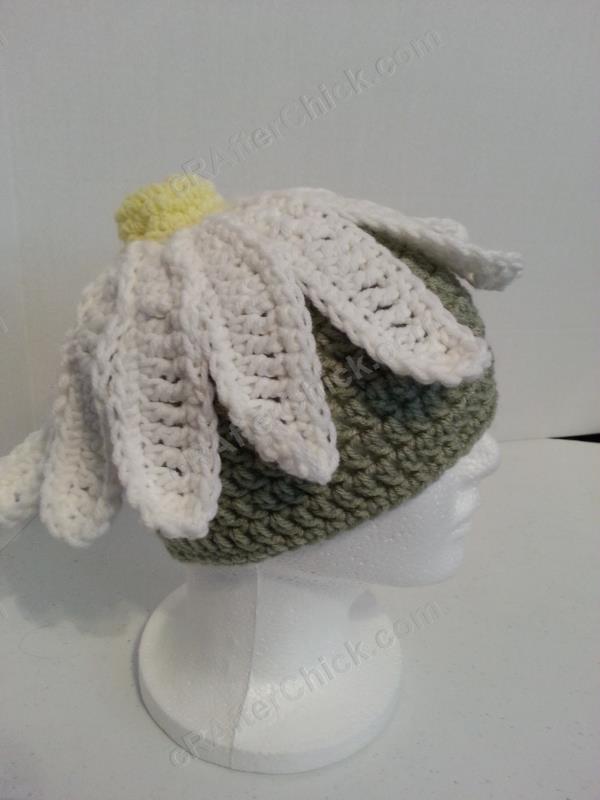
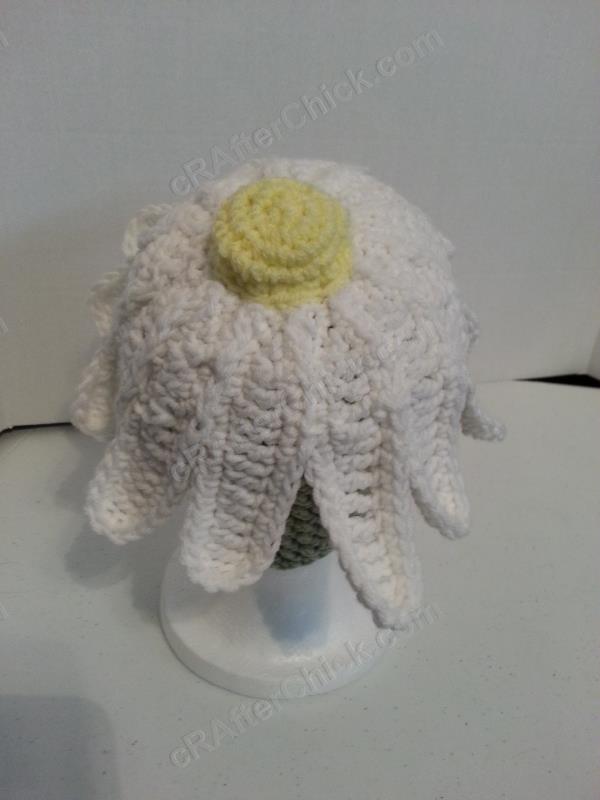
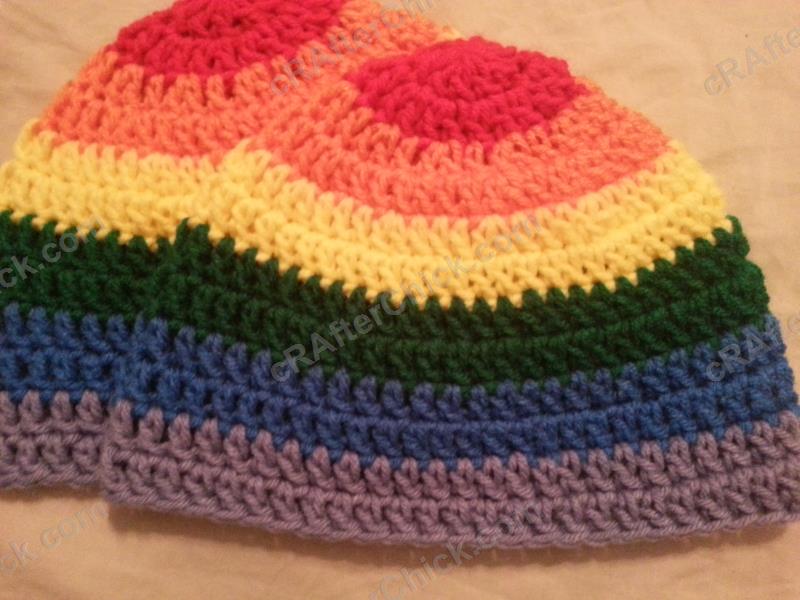
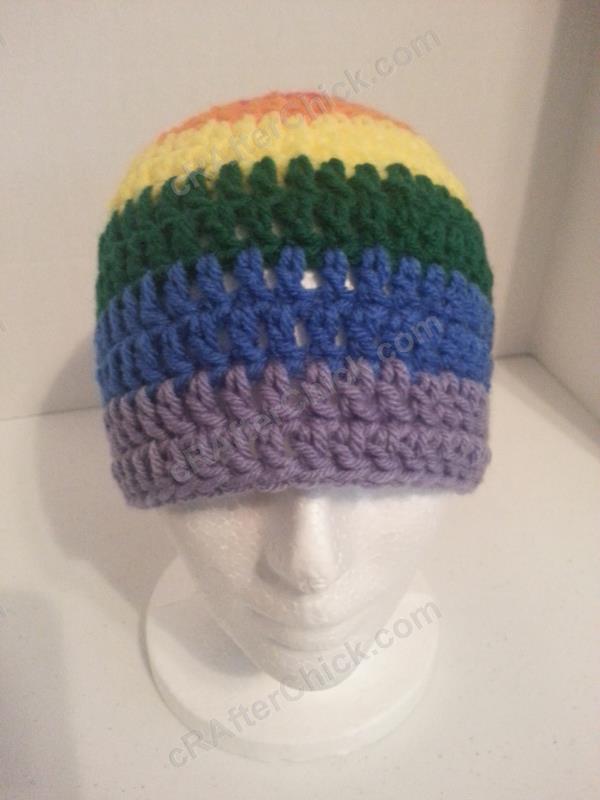
Here are some pictures I have taken to show how the completed rainbow hat looks once finished and worn:


Want more free patterns? Follow cRAfterChick on Facebook or Pinterest to get updates on patterns as they are added.
Note: All the cRAfterChick patterns shared on this site are free of charge. Please feel free to use them to make your own items. If you use it to make items to sell please credit cRAfterChick for the pattern and provide link to our site. Please do not copy and paste my pattern or try to use my images as your own. You can link to any of my patterns. Happy crafting!